Muting and Filtering
Reiterate offers two ways to turn clips off. You can mute clips, and you can also filter them. What’s the difference, and why would you want to use one vs the other?
Once you have more than a dozen or so clips recorded, you will probably want to organize them somehow. The main way that Reiterate allows you to group clips is through a Session. You can set your current session by tapping the session name at the top of the Clips window.
This will bring up the Session popup, where you can switch sessions, or create a new one.
Muting
Muting is how you determine which clips are in a session. When you mute a clip, you are removing it from that session. A session is basically just a way to remember which clips are muted, and when you switch sessions, you’re switching the muted status of all your clips.
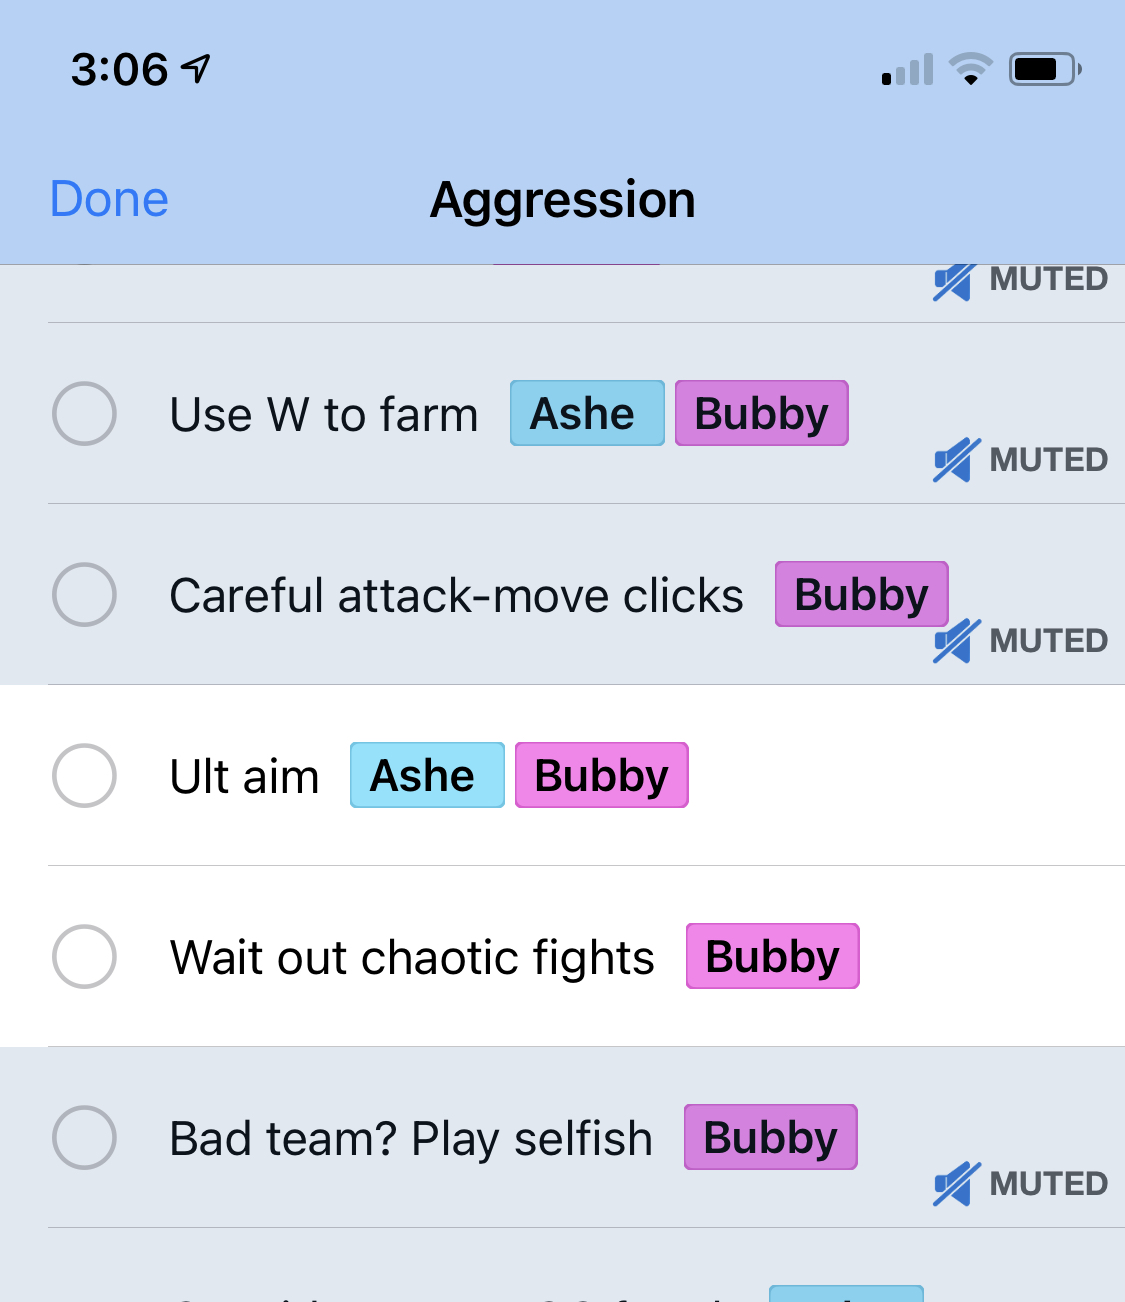
To mute a clip, first you have to go into Edit mode by tapping Edit in the upper left. This will show all your clips, even the muted ones. Muted clips will have a grey background and show “muted” in the corner:
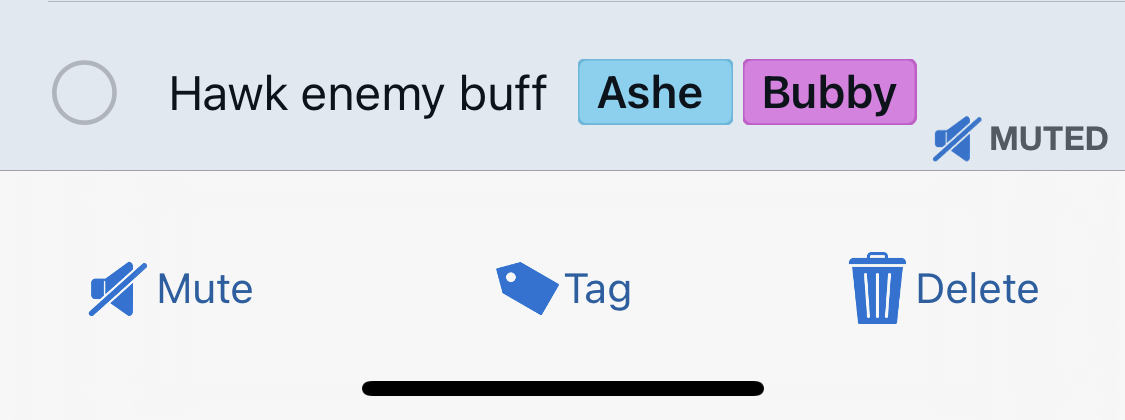 To mute a clip, select it and tap Mute in the toolbar at the bottom of the screen. Unmuting clips works the same way. You can also
select multiple clips at a time and mute or unmute them all at once.
To mute a clip, select it and tap Mute in the toolbar at the bottom of the screen. Unmuting clips works the same way. You can also
select multiple clips at a time and mute or unmute them all at once.
When you’re done, tap Done and your muting/unmuting changes will be reflected in your session. Remember, muting clips doesn’t delete them. They’re still there, they just aren’t a part of this session.
Filtering
Filtering is the process of using tags to turn clips on and off. First, you’ll need to define the tags you want to use. You can create tags for specific champions to indicate a clip is to be used only with that champion. Or you can make tags to identify where you got a clip from, for example, from a live coaching session. There’s many different ways you can use tags to organize your clips.
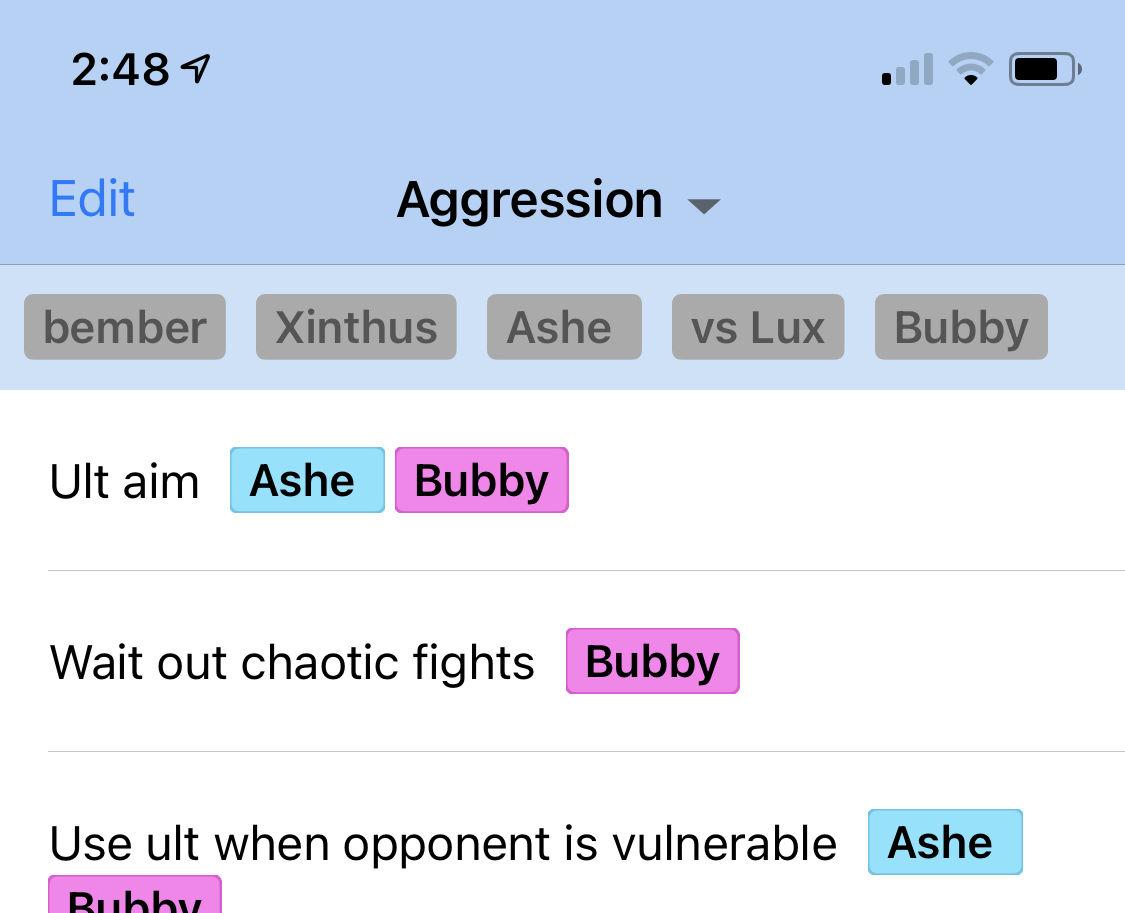
 All your tags will appear on the Tag Board, which is visible in both the Clips and
Play tabs. On the Clips tab, tags are useful for filtering down the visible list of clips. When you’re in Edit mode, you’ll see
every clip you ever recorded, and that can be quite a lot. Tapping a tag will hilight it and show only those clips with that tag
set on them, so you can quickly find a clip you’re looking for.
All your tags will appear on the Tag Board, which is visible in both the Clips and
Play tabs. On the Clips tab, tags are useful for filtering down the visible list of clips. When you’re in Edit mode, you’ll see
every clip you ever recorded, and that can be quite a lot. Tapping a tag will hilight it and show only those clips with that tag
set on them, so you can quickly find a clip you’re looking for.
Tags have three states, and tapping them will cycle through the three states.
- When a tag is grey, it’s not affecting anything
- When a tag is colored, it’s filtering for clips with that tag set. If you have multiple tags hilited, then a clip with any one of those tags will appear in the list
- If a tag has a line through it, then any clip with that tag will be filtered out.
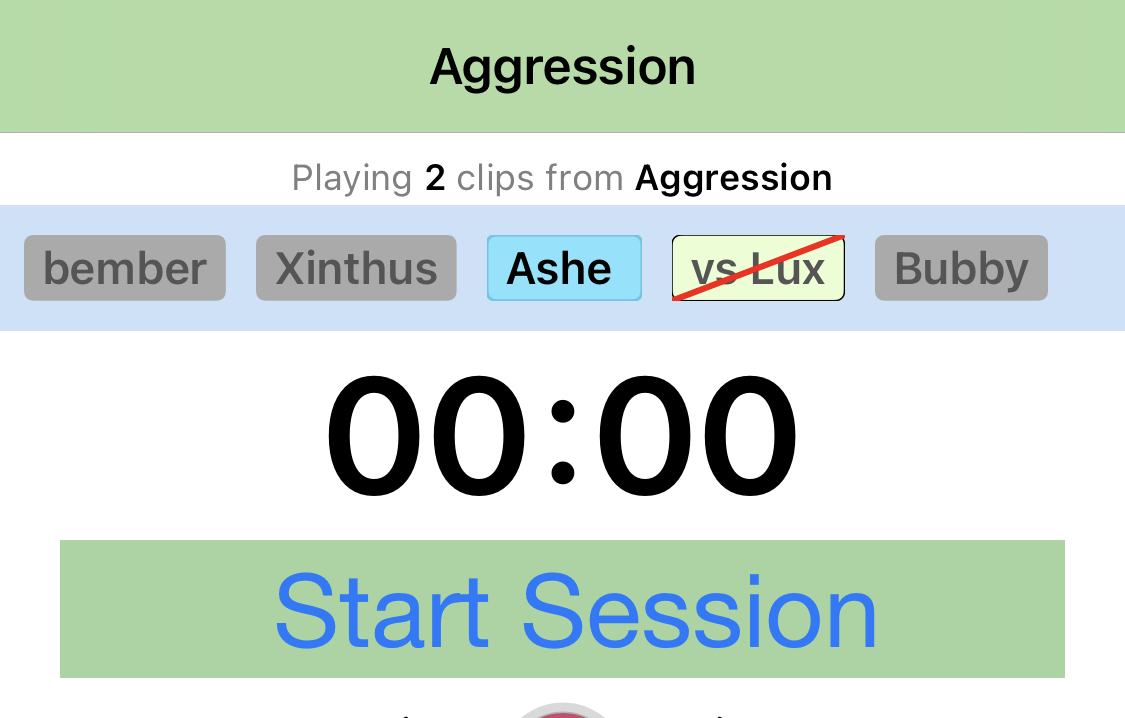
The Tag Board on the Play tab will let you filter clips in the active session. Tags function the same way as above, but instead of showing and hiding clips on the screen, it shows and hides clips from the active session.
When to use Muting and Filtering
Muting is a long-term effect, and filtering is more of a quick one-time thing. When you mute a bunch of clips you’re defining a session. Typically you should set up a few sessions for some sets of clips you want to work on, and you won’t change them much after you have your sessions set up the way you like.
Filtering lets you quickly adjust a session for a specific play. For example, say you have a session called “Aggression” which has a bunch of clips focusing on being aggressive in trades. But some of those clips are specific for Ashe and don’t really apply when you’re playing a different champion. If the Ashe-specific clips all have an Ashe tag, you can use the Tag Board to quickly filter those out if you don’t get your Ashe pick. Filters you set on the Tag Board aren’t permanent, so the next time you play that session you’ll have all your Ashe clips back.